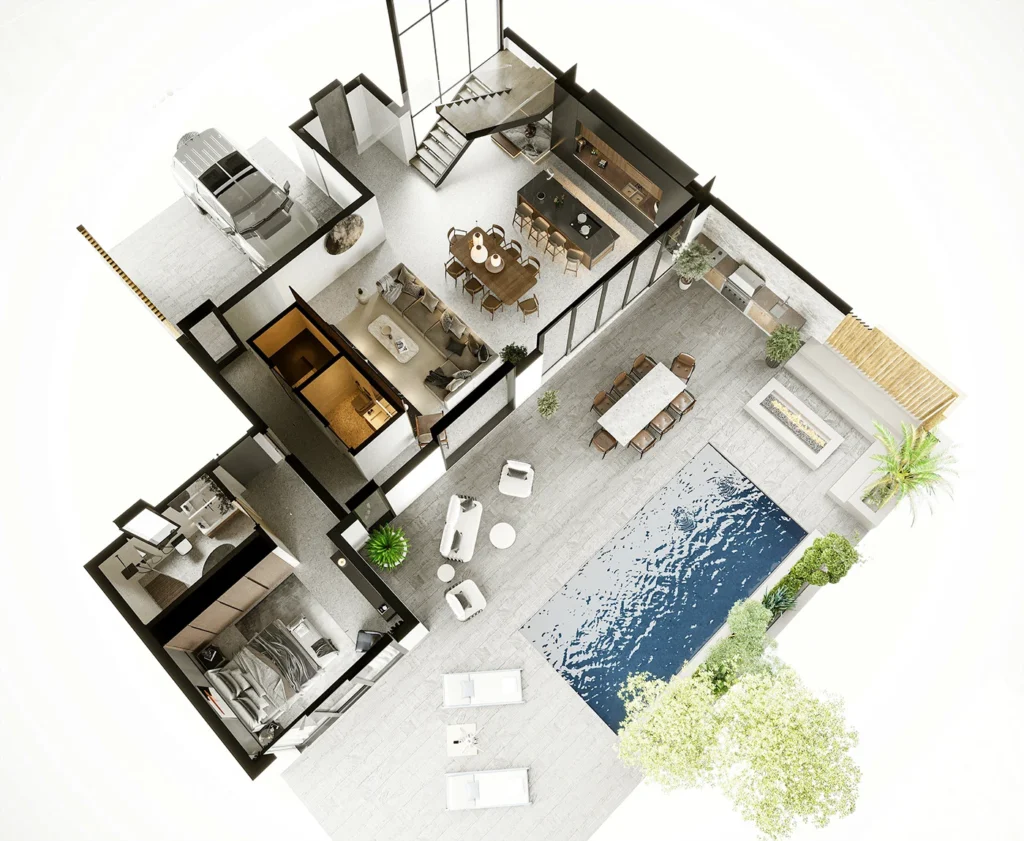
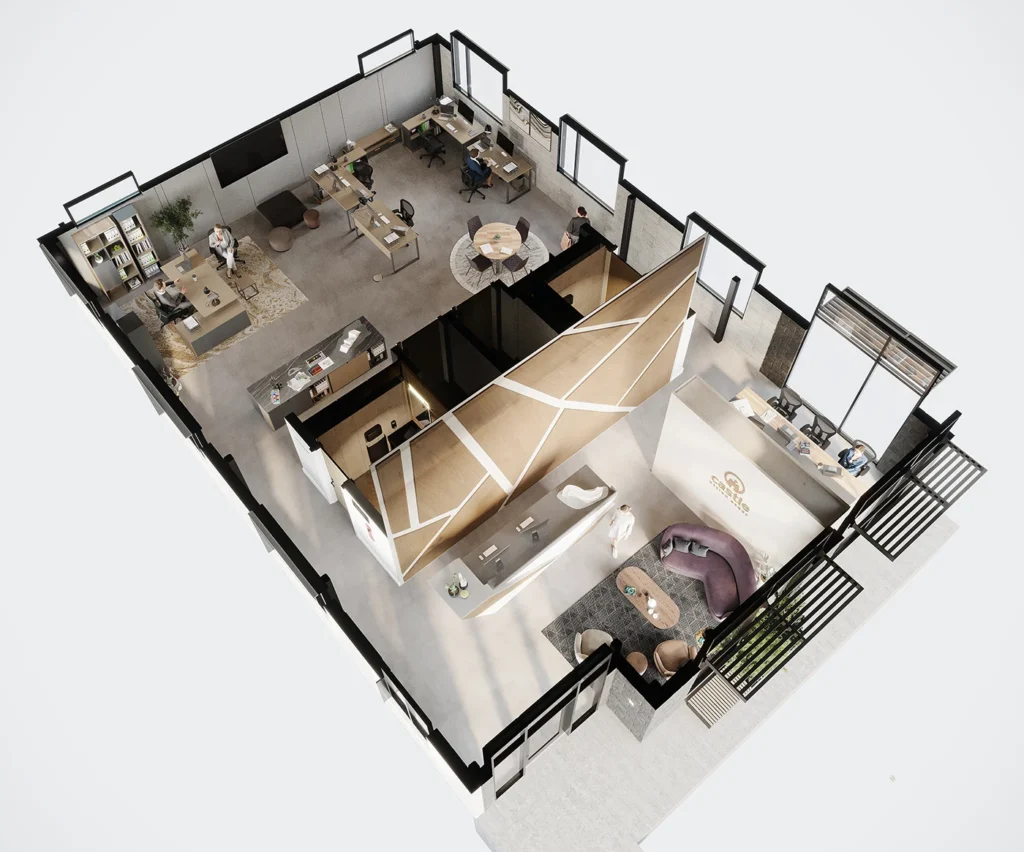
To turn a floor plan into a 3D render, first establish the building’s dimensions and heights, create the three-dimensional geometry, choose the views, then add materials, furniture and lighting before rendering and reviewing the result. A plan gives the starting layout; it rarely supplies every detail needed for a reliable image.
The process also depends on the output you want. A furnished 3D floor plan explains the layout from above. A room-level interior render explains how the space may look from within it. Both can come from the same drawing set, but they require different camera and detail decisions.
1. Decide what the image needs to explain
Start with the purpose: a client design review, a residential sales presentation, a comparison of finish options or a view of an existing room after renovation. Choose the output around that purpose before requesting a number of images.
- Layout overview: request a furnished 3D floor plan with the agreed rooms visible.
- Material and atmosphere: request interior perspectives with specified camera positions.
- Building and site: include exterior drawings and site information for exterior renders.
- Movement: define a camera sequence for an animation, or viewpoints for a 360° tour.
For a background explanation of these formats, see what architectural visualization includes.
2. Gather the drawing set and identify missing information
A clearly dimensioned PDF or CAD floor plan is a useful starting point. A legible measured sketch can also support an initial scope discussion. Include the drawing revision and units; if multiple files disagree, identify which is current.
For the third dimension, provide ceiling heights, window and door heights, sections and elevations where available. Stairs, roof shapes, level changes and sloping ceilings need particular attention. Photos of the existing space can explain details that do not appear on the plan, but photos alone should not be treated as reliable measurements.
Mark unresolved choices as unresolved. If a ceiling height, wall build-up or window detail must be assumed, record that assumption before it becomes part of a polished image. Design development can be included in a commission, but it should be agreed separately from simply representing a completed design.
3. Build and check the base geometry
The model establishes walls, floors, openings and other defining elements from the supplied information. If there is an existing 3D file, it needs a suitability check: model scale, missing linked files, hidden geometry and the level of detail can all affect preparation.
At this stage, review the geometry before debating small accessories. Check that windows and doors are in the expected positions, stairs connect the intended levels, ceiling forms match the design and furniture can be placed at the intended scale. An attractive render can still represent the wrong layout if these checks are skipped.
4. Agree camera views and what each one includes
An overhead view gives a quick reading of room relationships. An eye-level view shows the experience within a room but hides some areas behind walls or furniture. Identify the feature each camera needs to explain: the kitchen-to-dining connection, a seating arrangement, a terrace opening or a material junction.
Avoid relying on an excessively wide view to fit everything in. It can make a small room appear more spacious than the design supports. When one image cannot explain the layout clearly, a second purposeful view or a 3D floor plan may be the better choice.
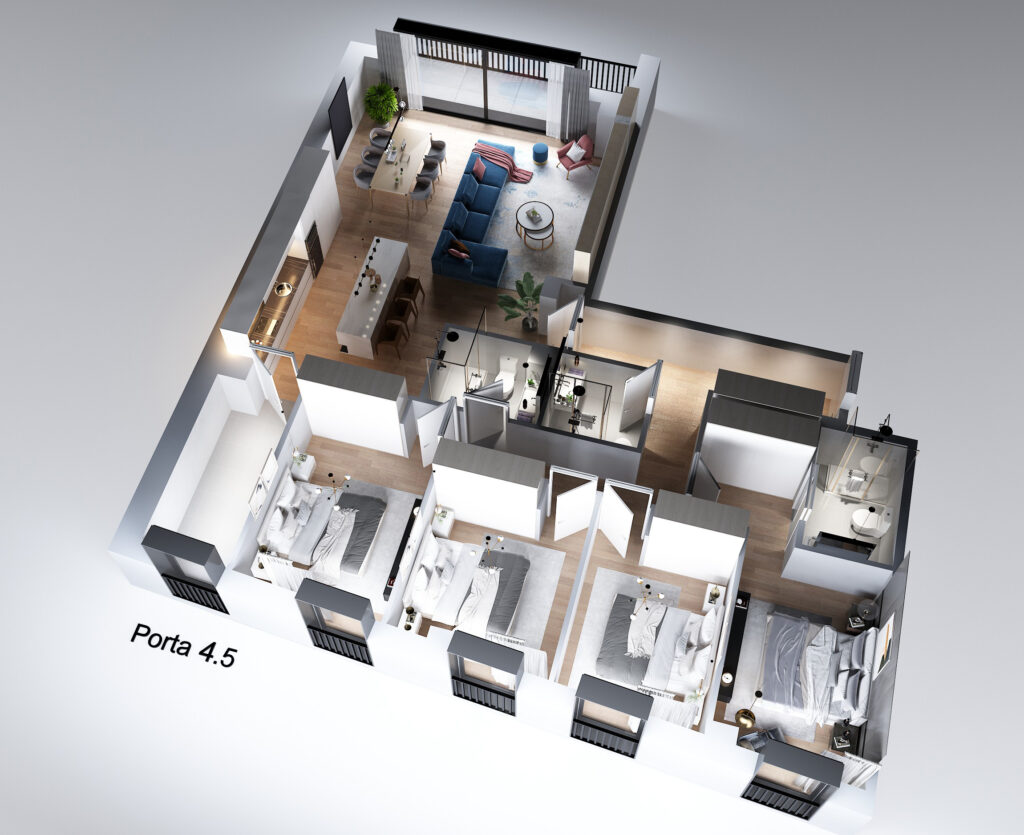
5. Specify materials, furniture and lighting
Provide a material schedule or a small, annotated reference set. Identify what each reference represents: flooring, cabinet colour, fabric, lighting mood or overall styling. An unlabelled collection of attractive images can contain conflicting directions.
For exact products, share product links, dimensions and available model files. Where generic assets are acceptable, say so. Bespoke joinery, a specific sofa or a detailed landscape may need additional modelling. Decide which details matter in the chosen views before adding work that the camera will never show.
Lighting should support the agreed presentation. A daytime view and an evening view can emphasise different features. If the project requires measured daylight or lighting analysis, specify that separately; a presentation render alone does not verify lighting performance.
6. Review drafts with one consolidated set of comments
Review in a consistent order: geometry and cameras, then materials and major furniture, then lighting and smaller details. Use numbered comments or marked-up images and appoint one person to consolidate feedback from the team. Conflicting instructions are easier to resolve before another render is produced.
The proposal should distinguish included revision rounds from a change of design or added views. If the plan changes after the geometry has been approved, ask for its effect on scope and timing before proceeding. There is no universal revision allowance; it belongs in the agreement for the specific project.
7. Confirm the final delivery before production finishes
Specify image dimensions, aspect ratio, file format and intended use. A large print, a website and a presentation slide may need different exports. Decide whether labels, room names, transparent backgrounds or alternate crops are required for a floor plan.
Editable scene files, custom models and third-party assets should not be assumed to be included with finished images. Agree any source-file handover and applicable usage rights in writing. For animation or an interactive tour, separately confirm video or panorama specifications and any hosting arrangement.
Can you start with a rough sketch?
Yes, a sketch can begin a conversation and help define the work. To produce a dimensionally grounded model, the relevant measurements and heights still need to be established. If the task is concept exploration, make that explicit so that assumed dimensions are not mistaken for surveyed information.
What changes the cost or delivery time?
A ready-to-use model with clear materials and two agreed views is a different task from an incomplete sketch requiring design decisions, custom furniture and several options. The preparation needed, level of detail, number of views, output resolution and review process all affect the scope. Send the available files first so the quotation can identify what is included.
Have a floor plan ready?
For an overhead layout presentation, explore Arakot’s 3D floor-plan service. For room-level or exterior perspectives, see architectural rendering. When you send your plan for a scope review, include the current drawing, reference direction, intended use, required views and target date.